
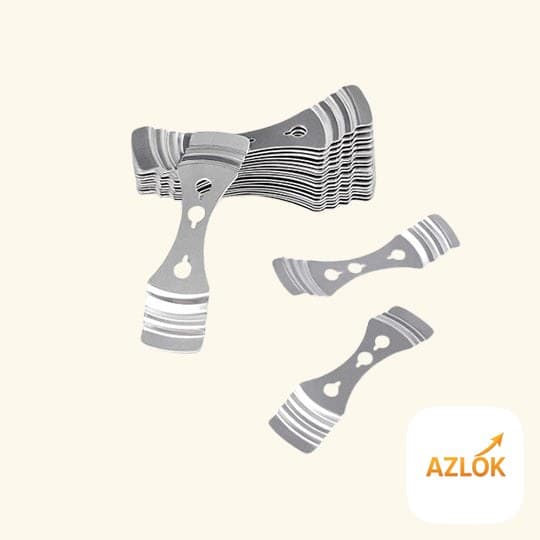
A metal candle wick holder is a small stainless steel tool that clamps or rests across the top of your candle mould or jar, gripping the wick so it stays upright and perfectly centred while the hot wax cools and sets. It saves you the frustration of a crooked wick and gives you a candle that burns evenly.
What a wick centring device actually does
When you pour melted wax, the wick tends to drift, lean or sink to one side before the wax firms up. An off-centre wick means an uneven burn, tunnelling and wasted wax. The Azlok metal wick holder solves this by holding the wick taut and dead-centre from the moment you pour until the candle is fully set. It is a simple tool, but anyone who has made candles by hand knows how much effort it saves.
This holder is made from high-quality stainless steel, measures roughly 2.5 x 10 cm, and weighs about 20 grams per piece. The silver finish wipes clean easily, and because it is metal rather than plastic, it sits close to warm wax without warping.
Where you can use it
- Jar candles — rest it across the mouth of the jar to hold the wick straight down the middle.
- Pillar candles — thread the wick through and keep it centred inside the mould.
- Tealights — handy for keeping tiny wicks upright in shallow cups.
- Container and votive candles — works for most standard DIY candle shapes.
It suits both hobby makers pouring one candle at a time and small businesses running a batch. That is why Azlok stocks it in packs of 2, 6, 10, 50 and 100 — you buy as many as your pour size needs.
How to use it, step by step
- Fix your wick to the base of the container using a wick sticker or a dab of glue.
- Pull the wick up straight and pass it through the metal holder, or lay the holder across the top so the wick sits in the centre.
- Rest the holder flat on the rim of the jar or mould.
- Pour your melted wax slowly and check that the wick is still centred.
- Leave the candle undisturbed until the wax has set completely, then remove the holder and trim the wick to about 5–7 mm.
Tips and safety notes
- Only handle the holder once the wax is poured and settling — wait for the candle to cool fully before removing it, so you don't pull the wick out of place.
- Metal warms up near hot wax; give it a moment before touching after a hot pour.
- Keep the holder and all small candle-making parts away from children and pets.
- Wipe off any wax residue while it is still slightly warm; hardened wax lifts off with a little pressure or a warm cloth.
- Match your wick size to your candle diameter first — a centring device keeps the wick straight, but it can't fix a wick that is too thin or too thick for the container.
Buying and storage tips
Choose your pack by how many candles you pour at once. A pack of 2 or 6 is fine for occasional home projects, while 50 or 100 makes sense if you sell candles or run workshops. At around ₹99, these are inexpensive enough to keep spares on hand.
Store them dry to prevent any surface spotting. A small zip pouch or a labelled box keeps them from getting lost among your other tools. Being stainless steel, they are reusable across many pours — just clean off the wax after each use and they are ready for the next batch.
FAQ
Can I reuse a metal wick holder?
Yes. Stainless steel holders are made to be used again and again. Clean off any wax after each candle and store them dry.
Which candles can I use it for?
It works for jar candles, pillar candles, tealights, votives and most standard DIY candle shapes.
When should I remove the holder?
Wait until the wax has set completely. Removing it too early can pull the wick off-centre or loosen it from the base.
Does it work with all wick types?
It suits common cotton and paper-core wicks. Make sure the wick diameter matches your candle size for the best burn.
What pack size should I buy?
For home use, a pack of 2 to 10 is usually enough. Choose 50 or 100 if you make candles in larger batches or for a small business.