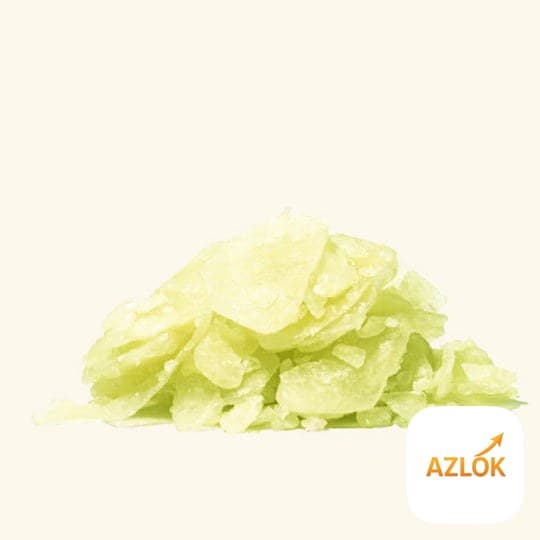
Azlok's Neem Tulsi Soap Base is a ready-made melt and pour base that lets you make herbal soap bars at home without handling lye. You simply cut it, melt it, add anything you like, and pour it into moulds — a set bar is ready in a few hours. It is a green, odourless base made with neem and tulsi powder (tulsi at 5%), glycerin and sucrose, and it is SLS-free, sulfate-free, paraben-free and 100% vegan.
What is a melt and pour soap base?
A melt and pour base is soap that has already been made and saponified for you. All the tricky chemistry — mixing oils with lye — is done, so you skip the caustic soda and the long curing wait. This makes it the safest way for beginners, hobbyists and small businesses to make custom bars. With the Neem Tulsi base you get the character of neem and tulsi built in, so even a plain bar has a purpose.
Why neem and tulsi
Neem and tulsi are two of the most trusted herbs in Indian skincare tradition. They are commonly used for their antibacterial and soothing qualities, which is why this base is popular for everyday, clarifying bars.
- Neem — helps cleanse and purify skin, often used in anti-acne and body-odour bars.
- Tulsi — soothing and refreshing, valued for calming irritation.
- Together they suit oily, acne-prone and combination skin, and the base is labelled for all skin types, face, hair and body.
Keep expectations honest: soap is a wash-off product. It cleanses and freshens, but it is not a medicine and will not cure skin conditions.
How to use it: step by step
- Cut the base into small, even cubes so it melts uniformly.
- Melt gently using a double boiler or short microwave bursts (15–20 seconds at a time). The melting point is around 135°F, so it does not need high heat. Stir between bursts and do not let it boil.
- Add your extras once melted — a few drops of skin-safe fragrance or essential oil, cosmetic colour, or gentle exfoliants like poppy seeds or oatmeal. Since the base itself is odourless, you control the final scent.
- Pour into your mould and spritz the top with a little rubbing alcohol to pop any surface bubbles.
- Set for a few hours at room temperature (or briefly in the fridge), then unmould your finished bar.
Unlike cold-process soap, melt and pour needs no weeks of curing — the bar is usable once it has hardened.
Tips for better bars
- Work in small batches so the base does not overheat and lose clarity.
- Overheating can cause a burnt smell and a rough texture, so melt slowly.
- Add essential oils only after removing from heat, so the scent does not cook off.
- For layered or swirled bars, let the first layer just skin over before adding the next.
- Wrap finished bars tightly — glycerin-rich soap attracts moisture from the air and can develop surface